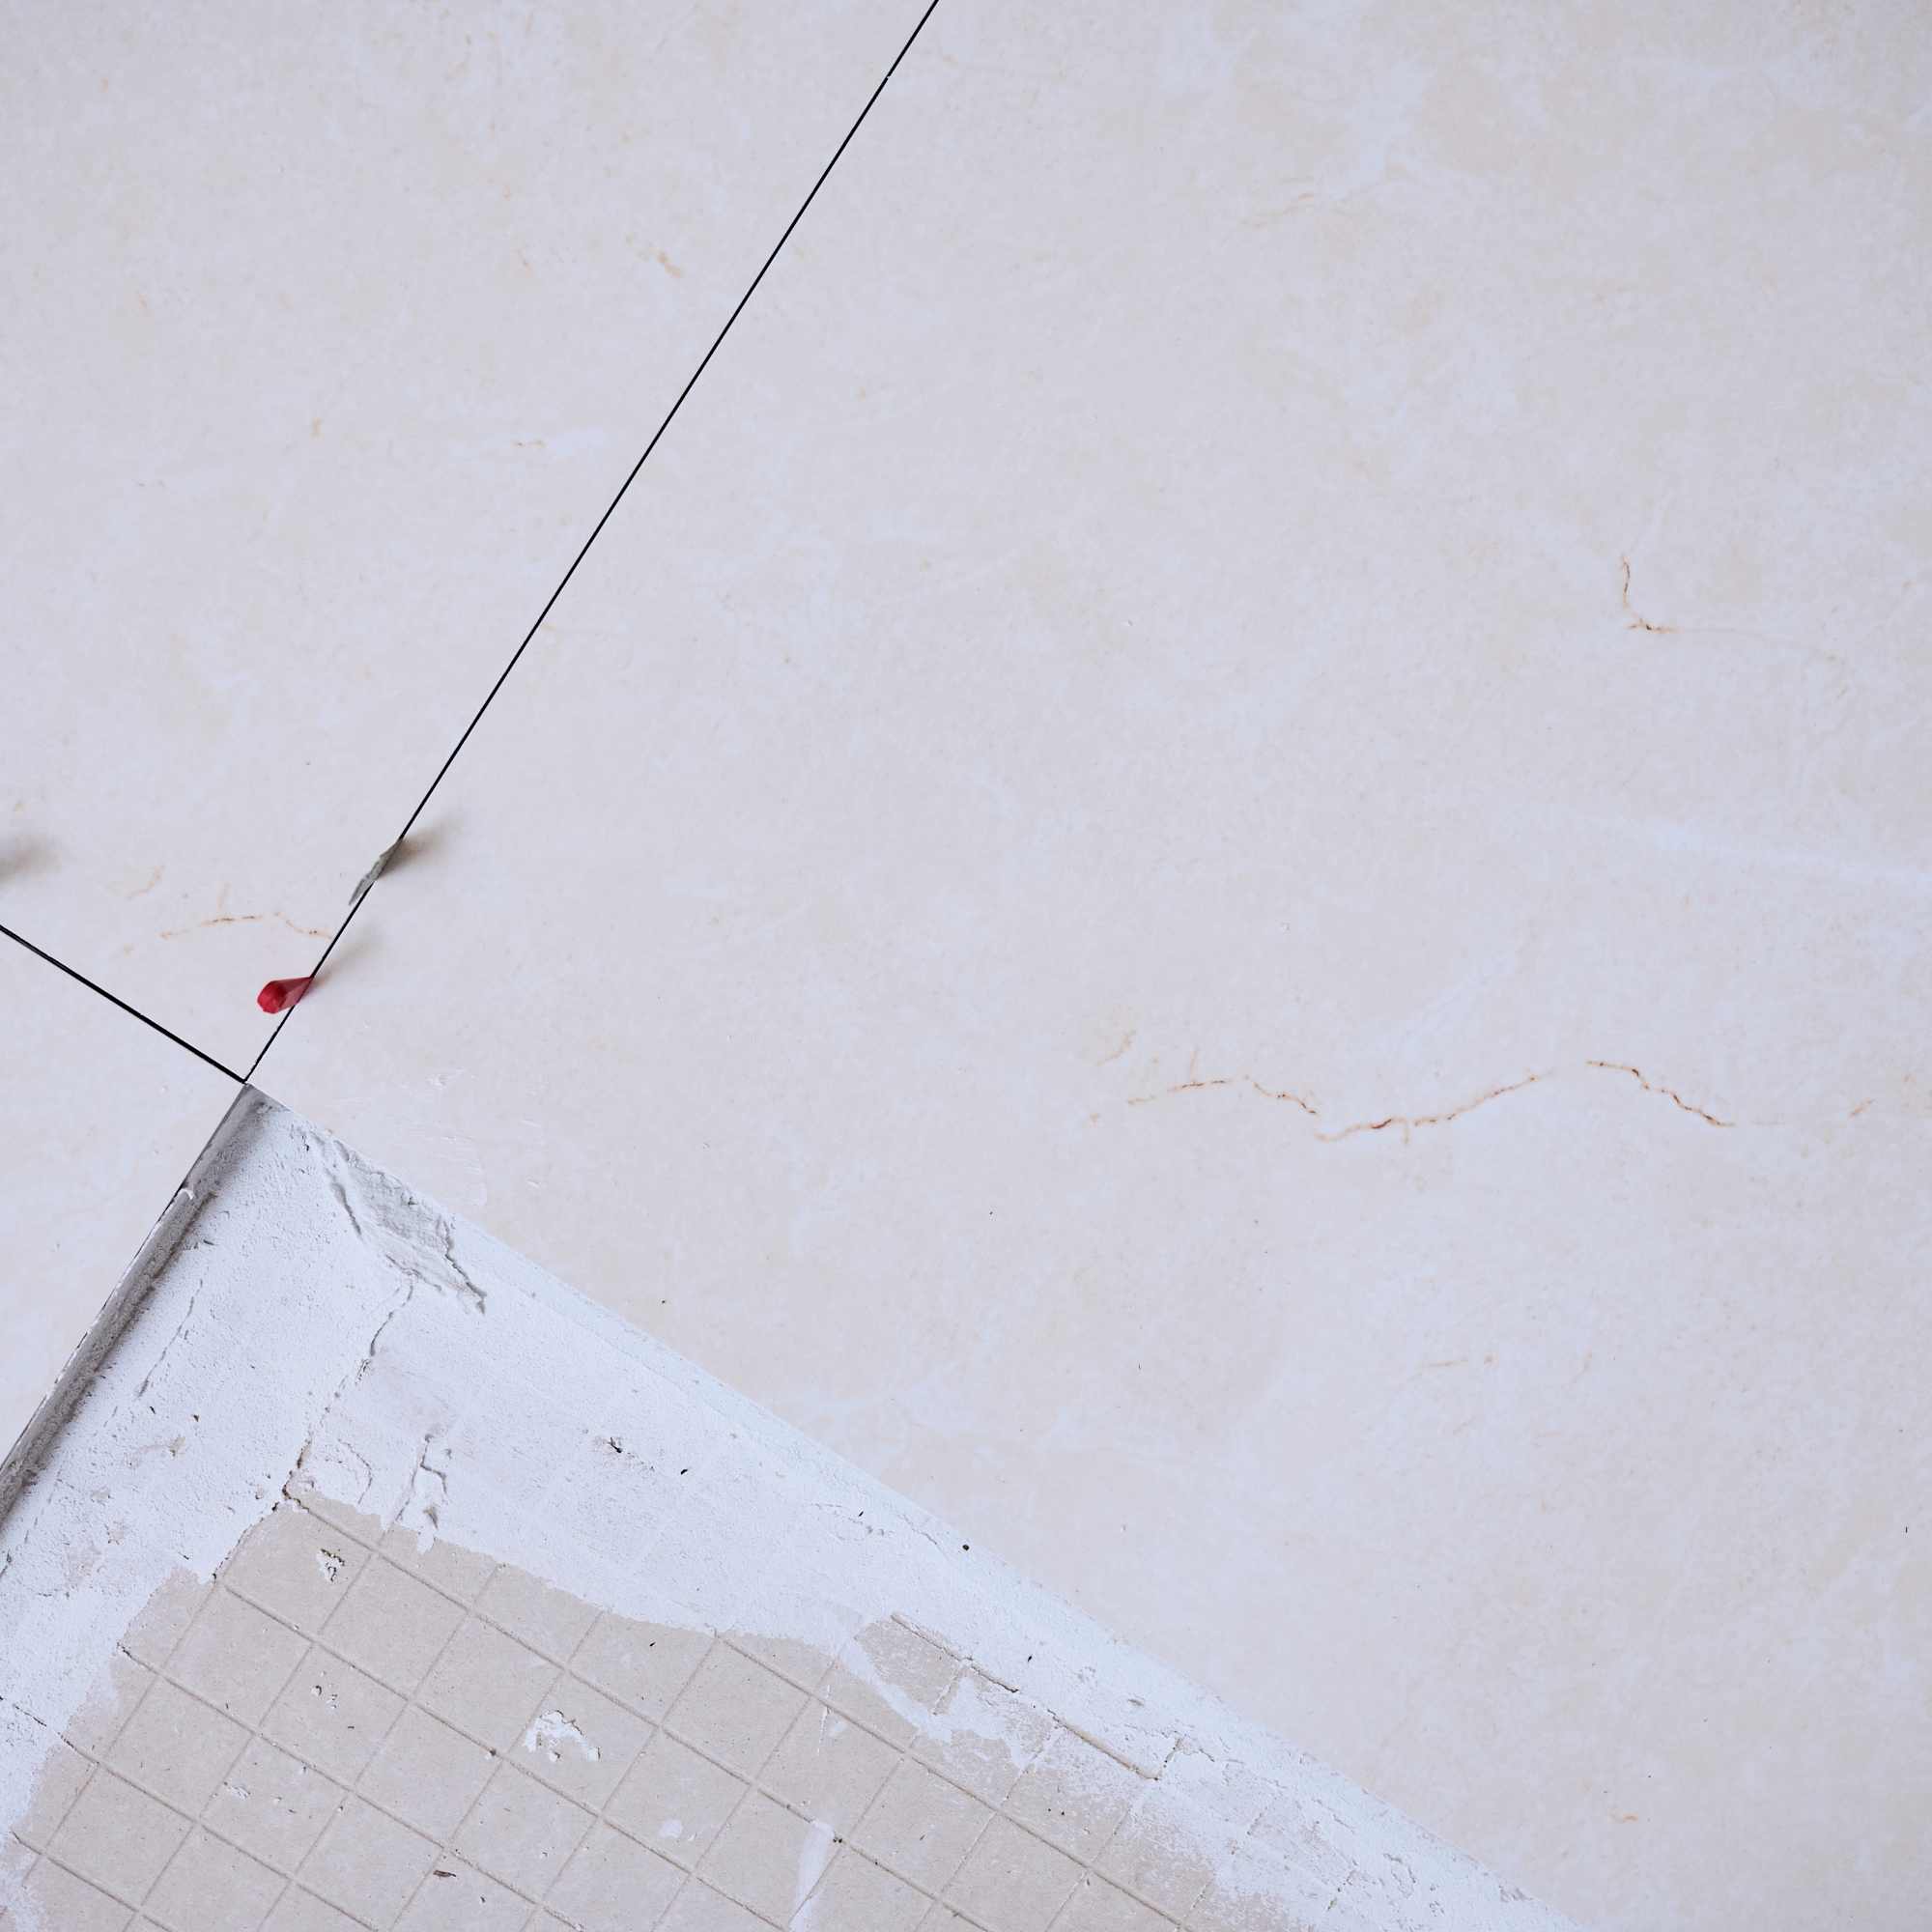
For bathroom tile specifically, the answer is often: DIY saves money if things go reasonably well—but the savings shrink quickly if you need to buy tools, take extra time off, or redo work.
Here's a realistic comparison for a typical bathroom floor (roughly 40–80 sq. ft.):
| Factor | DIY | Contractor |
|---|
| Labor cost | $0 | Often the largest part of the bill |
| Tool cost | $200–$600 if you own very little | Included |
| Learning time | 10–20+ hours | None |
| Installation time | 2–4 weekends for a first project | 1–2 days |
| Risk of mistakes | Moderate | Usually lower (assuming a reputable installer) |
| Warranty | None | Often workmanship warranty |
Where DIY saves the most
Suppose a contractor charges $2,500 for a bathroom tile floor.
A DIY version might look like:
- Materials: about the same either way.
- Tool purchases/rentals: $300–500.
- Extra materials from mistakes: $100–300.
- Your labor: free (if you don't assign a value to your time).
You might save around 30–50% of the total project cost, especially if you already own some tools.
If you plan to tile additional rooms, those savings improve because the tool costs are spread across multiple projects.
The hidden costs people underestimate
1. Time
A professional crew has done this hundreds of times.
A first-time DIYer spends time:
- Planning the layout.
- Watching tutorials.
- Making practice cuts.
- Running to the store for forgotten supplies.
- Waiting for mortar and grout to cure between steps.
What takes a contractor 10–15 working hours might take you 30–50 hours spread over several weekends.
If you enjoy the process, that may be time well spent. If you're eager to get your bathroom back in service, it's a real cost to consider.
2. Tool purchases
A basic project may require:
- Tile saw (buy or rent)
- Mixing drill and paddle
- Trowels
- Tile spacers or leveling clips
- Buckets and sponges
- Grout float
- Tile nippers
- Diamond hole saws for plumbing penetrations
- Knee pads
- Quality measuring tools
Many of these become worthwhile investments if you'll tackle future tile projects.
3. Mistakes
Common first-project costs include:
- Breaking a few tiles during cutting.
- Buying extra thinset because it hardened before use.
- Replacing tiles after discovering lippage.
- Re-grouting sections that didn't turn out well.
These are usually manageable and relatively inexpensive.
The more expensive mistakes are usually hidden ones, such as:
- Improper floor preparation leading to cracked grout or tile.
- Incorrect waterproofing in a shower.
- Insufficient mortar coverage under large-format tiles.
Those can require tearing out finished work rather than making small repairs.
One place where DIY can be a false economy
A custom tiled shower.
A contractor's quote may seem expensive, but a shower combines:
- Waterproofing
- Drain installation
- Slopes
- Niches
- Corners
- Precise tile work
If a waterproofing error causes a leak years later, repairing it can cost far more than the original labor savings.
Where DIY often has the best return
For an intermediate DIYer, these projects usually offer a strong balance of savings and manageable risk:
- Bathroom floor tile
- Kitchen backsplash
- Laundry room tile
- Powder room floor
These are less technically demanding than a full shower and still provide substantial labor savings.
A practical way to decide
Ask yourself three questions:
- Will I use these tools again? If yes, buying them is easier to justify.
- Do I enjoy this kind of detailed, repetitive work? Tile rewards patience and precision more than speed.
- If this project takes twice as long as I expect, am I okay with that? First-time projects often do.
For someone who's already comfortable with drywall, trim, and general home repairs, a bathroom floor is a reasonable next step. A tiled shower is also achievable, but the margin for error is much smaller because waterproofing mistakes can be costly even if the finished tile looks excellent.